Hey everyone and welcome back to my blog! I'm such a big fan of the Simon Hurley create. Stellar Ink pads and colors for so many reasons, and now there are more colors to choose from! They are great for stamping, watercolor, and even alcohol marker coloring!
I paired up some of the new colors to make my card today, so you can see just how beautiful they are. I blended Love Bomb and Bee Sting for my background and stamped the Sheet Music with Black Widow. The images come from the new Christmas Postage Stamp Set, and I used the new colors Ivy League, Love Bomb, Slippery When Wet, and Loch Ness. My snowman was stamped with Jet Black Archival ink and watercolored with Shady, Love Bomb, and Tropical Tango.
Twelve new colors to add to your collection, and they go so beautifully with the 12 previously released colors. Thanks for stopping by to see what I've made. I hope it inspires you to get a little bit inky!
Cassie
*affiliate links are used whenever possible at no additional cost to you. . .thanks for your support!
Hey everyone! Today I want to share this adorable Snow Stacks card I made by stamping out the image onto some X-press It blending card and coloring it with my OLO Markers. Their little faces are just so sweet, and because it's snowmen, it was super easy to color. I did use the Snow Stacks die cuts to cut out not only my image, but my sentiment as well. The background was made by stamping all of the snowflakes from the set onto some green cardstock and heat embossing them in white.
This set is a part of the Trinity Stamps Holiday Release. You can see all of the new release HERE.
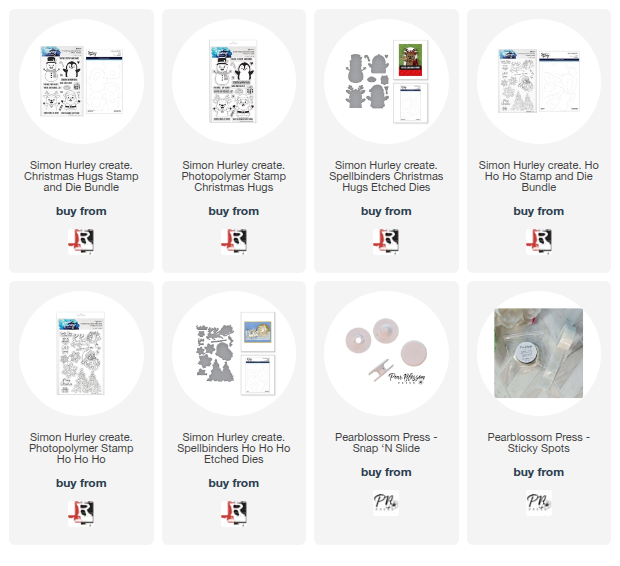
Hello friends and welcome back to my blog! Often times I am all about the YouTube videos, but today I wanted to quickly get on here and share some of the new products from Simon Hurley create. It's a Christmas release, and it's the perfect time for us to get started (if you haven't already) on those Christmas cards. The two new sets are called Ho Ho Ho and Christmas Hugs, and I'm focussing on Christmas Hugs today.
As soon as I saw this set, I knew it needed to put in motion! The images are big and bold and perfect to fill up the front of an A2 sized card. My snowman uses and Action Wobbler, which means he wobbles around! Those Action Wobblers are the perfect thing to make an easy interactive card.
Our penguin uses the new Snap 'n Slides from Pear Blossom Press. He doesn't look like it in the picture (you can see it over on my Instagram), but he slides from side to side behind that snowbank holding his plate of cookies! Those Snap 'n Slides are genius!!
Thanks for checking out what I have for you today! Hopefully it makes you want to get a little inky!
Cassie
*affiliate links are used whenever possible at no additional cost to you. . .thanks for your support!
Hello friends, and welcome back to my blog! Today I'm sharing a very colorful, stained glass inspired card using a couple of newer products from Stampendous. The beautiful Christmas Morn Nativity die set reminded me of my childhood and the church I attended. The old church was filled with gorgeous depictions of the Old and New Testament all in stained glass. I paired it up with the Christmas Blessings Stamp set, where I stamped onto some vellum and embossed it in black so that it wouldn't cover up any of that beautiful stained glass look.
I'm always trying to get a jump on my Christmas card making, and this set made for a very quick card, but I've seen this die set used with One Light from Pear Blossom Press as well. Lots of beautiful options with this die set.
Thanks for stopping by!
Cassie
*affiliate links are used whenever possible at no additional cost to you. . .thanks for your support!
Hello there friends, and welcome back to my blog! Today I'm excited to share about the Stress Free Cardmaking Summit that you can attend for FREE! These classes are all about making Christmas cards and doing it with only 5 supplies that you probably already have in your crafty stash. We all have paper trimmers, stamp blocks and glue, so those don't count ;)
I'll be teaching at this Summit along with so many other incredibly talented and well known artists in the paper crafting community! So if you want to join us, just click HERE to get your free ticket! Take a look at all of the teachers that will be sharing their tips with you:
There is an Ultimate Cardmaking Bundle that offers more, so be sure to click HERE if you want to check that out. If this sounds like something you'd be interested in doing, be sure to sign up HERE for free.
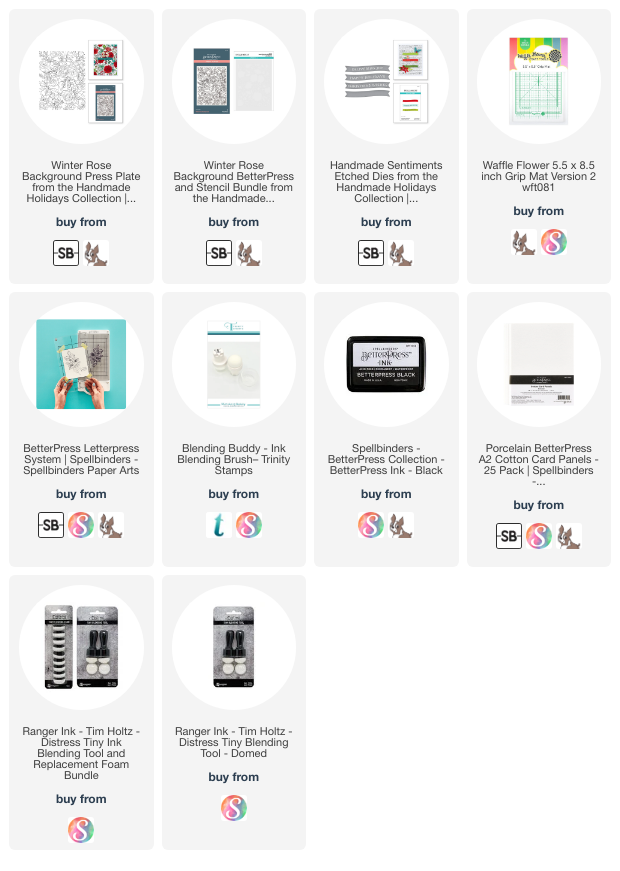
Hi friends, and welcome back to my blog! Today I'm sharing these super simple backgrounds using the Spellbinder BetterPress System along with the Winter Rose Background BetterPress & Stencil.
My first one uses some yellows, light greens, and purples.
This next one uses pinks and purples for the roses as well as a combination of yellows, greens, and blues for the rest of the background.
My final card is my favorite, and I share the step by step of making it over on my YouTube Channel. You can watch that process right here or over on my YouTube Channel.
I love how quick these came together, and the color combinations are endless! I hope this inspires you and makes you want to get a little inky.
Thanks for stopping by!
Cassie
*affiliate links are used whenever possible at no additional cost to you. . .thanks for your support!
Hey friends!! There's a new freebie over on Scrapbook.com, and it's this adorable set called Mele Kalikimaka from Trinity Stamps! It's only available while supplies last so head on over and check it out!!
Hurry, go!
Cassie
*affiliate links are used whenever possible at no additional cost to you. . .thanks for your support!
Welcome back to my blog for the Spellbinders October 2023 Quick & Easy Card Kit! Today I'm going to be sharing 5 cards that I made with this kit, but believe me when I say there is so much left over to be able to make so many more kits.
This first card had me quite hungry for a snack after piecing all of the goodies along the horizontal panel. The patterned papers are so whimsical, and popping all of the pieces up with foam tape helped to make them all really stand out.
I love that there are always plenty of pieces in each kit to be able to build up little scenes. Christmas cards are totally my jam, so I was all about these elves gifting each other some presents by the tree.
I was so excited that there were acetate pieces in this month's kit, so I decided to make a wreath shaker using the adorable clay and sequins bits. I really love how this one turned out!
As soon as I saw the ornaments and those large hearts, I knew I had to make a card with them together, and I think this one is my favorite from today! That little elf swinging from the ornament has me all smiles!
My final card of the day uses another acetate piece, and this one is a tag. It looks so cute all dressed up with the clay and sequin bits. That background is what it's about using the new Embossing Folder of the Month!
If you'd like to see exactly what comes in this kit, you can watch an unboxing here or over on my YouTube Channel.
I hope this inspires you to want to get crafty! Thanks for stopping by!
Hello, and welcome back to my blog! Today I'm sharing 3 of the new kits of the month from Spellbinders. I love that this month is all about Christmas, so I had the best time creating from these new products.
The Small Die of the Month has me smiling as it's that adorable Santa! He's really quite big once assembled as you can see from this A2 card.
My next project uses both the Small Die of the Month as well as the Embossing Folder of the Month, and as a bonus, the Add On of the Month. I love how this tag turned out. That embossing folder gives me nordic Christmas vibes and I am all about it!
And last of all, I have a card using the absolutely GORGEOUS Glimmer Kit of the Month. This is so stunning, and my card came together so quickly. I colored the image up using my OLO markers, and that color palette is ooo la la!
I do have all of these projects in a video if you'd like to see how I made them, or how the die goes together. You can watch it here or over on my YouTube Channel.
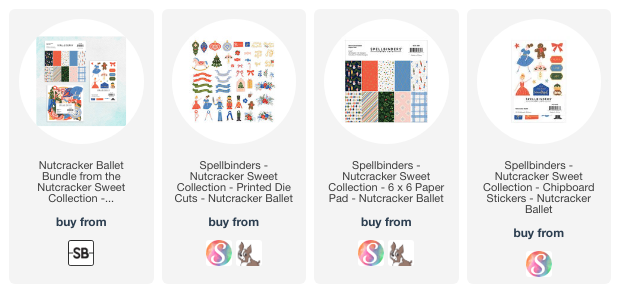
Who is working on their Christmas cards? I try to work on them all year. It's fun to pull out Christmas goodies from time to time throughout the year and make a few things, but I'm just now starting to do a big push. I made these quick and easy cards using the Nutcracker Ballet Bundle from Spellbinders. Bundles like this are so good when you need quick cards, because everything matches. All you need to do is piece things together. Head on over and check out the bundle!
Thanks for stopping by!
Cassie
*affiliate links are used whenever possible at no additional cost to you. . .thanks for your support!
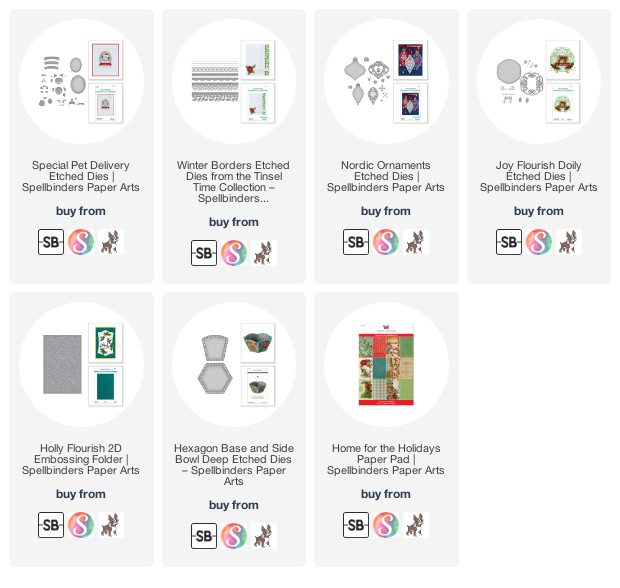
Hello everyone! Welcome back to my blog! Today I want to share a few of the new things that Spellbinders has just released. I got a chance to play with the Special Pet Delivery and the Winter Borders from the Holiday Cheer Enclosed line. This first one is modeled after my Siamese cats (of course, lol). I also used the previously released Happy Camper die set for that 'Merry Christmas' banner.
This second one uses both products again, and I just made the one little pup holding the 'For You' sign. I love that leaf border from the Winter Borders die set.
My next couple of cards were made using things from the Christmas Flourish line by Becca Feeken. That Nordic Ornament die is absolutely gorgeous!
This next card uses the Joy Flourish Doily and the Holly Flourish embossing folder. That embossing folder is perfect for those bigger cards like this A7 card.
Lastly, I made this super fun (and large) nostalgic paper box. This uses the Hexagon Base and the Home for the Holidays paper from the Christmas Flea Market line. This box will hold all of the Christmas cards I'm hoping to get this year.
If you'd like to see all of these in a video where I talk more about them, you can see it here or over on my YouTube Channel.
Thanks for stopping by!
Cassie
*affiliate links are used down below at no additional cost to you. . .thanks for your support!
Welcome back to my blog! Spellbinders is having a new release, and I'm sharing a bunch of projects from the various collections.
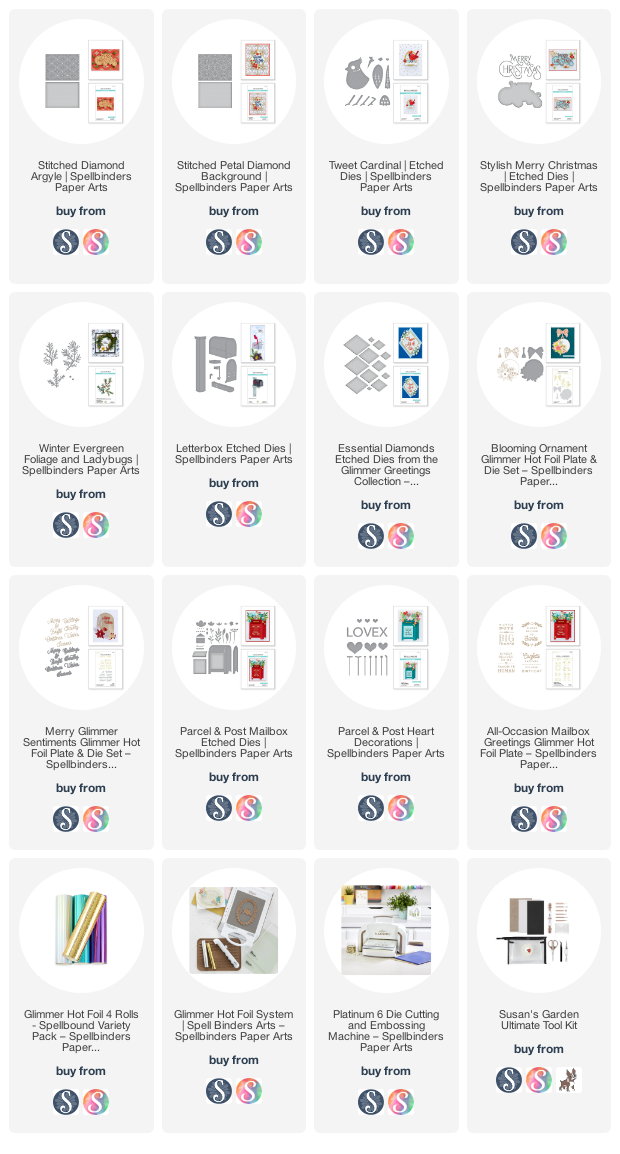
Let's start with a couple of projects from the Stitchmas Christmas Collection. This first one is the Stitched Petal Diamond Background. I did this one using a gold and a red thread, and I LOVE how it turned out!
This next card I'm sharing uses the Stitched Diamond Argyle Background. I made this one with a dark navy blue cardstock and some gold thread. Both of these backgrounds could be used at any time of year, and they while they are a labor of love, if you enjoy stitching, you'll enjoy these.
Our next collection is the Celebrate the Season Collection. My first card uses the Tweet Cardinal die. I used it with the Essential Diamond dies and the Merry Glimmer Sentiments.
Here is a card I made using the Stylish Merry Christmas die. This one also uses the Essential Diamonds dies.
The next collection is the Winter Garden Collection. My first card uses the Winter Evergreen dies along with the Stylish Merry Christmas.
I also have a card using the Letterbox dies, and this was paired up with our Winter Evergreen dies as well as the Merry Glimmer Sentiments.
Our next collection is the Glimmer Greetings Collection. My first card uses the Essential Diamonds dies. I also used the Glooming Ornament and the Merry Glimmer Sentiments.
My next two cards focus on the Blooming Ornament and the Merry Glimmer Sentiments (which can obviously be used for so many of your Christmas cards!)
Lastly, we have the Parcel and Post Collection. I adore this collection! My first card uses the Parcel & Post Mailbox dies with the All Occasion Mailbox Greetings.
And my last card uses both of those previous products as well as the Parcel & Post Heart Decor.
The following video will share all of these cards, but also shows you exactly how I made this card from start to finish! You can watch it here or over on my YouTube channel.
Thanks for stopping by!
Cassie
*affiliate links are used whenever possible at no additional cost to you. . .thanks for your support!
Merry Christmas my crafty friends! It's Brutus Monroe Blog Hop day and since it's Christmas Day, we have some Christmas projects to share! I decided that I needed just a few more gift tags, so I inked up the super adorable Gnome Place Like Home stamp set.
I stamped and colored them using Arteza EverBlend Markers. If you'd like to see how I made it you can watch here or head over to my YouTube Channel.
Be sure to hop along and check out what the rest of the Inspiration Team has for you, and Merry Christmas!


.png)
.png)

.png)


.png)

.png)
.png)
.png)
.png)
.png)
.png)

.png)
.png)
.png)
.png)
.png)



.png)





.png)